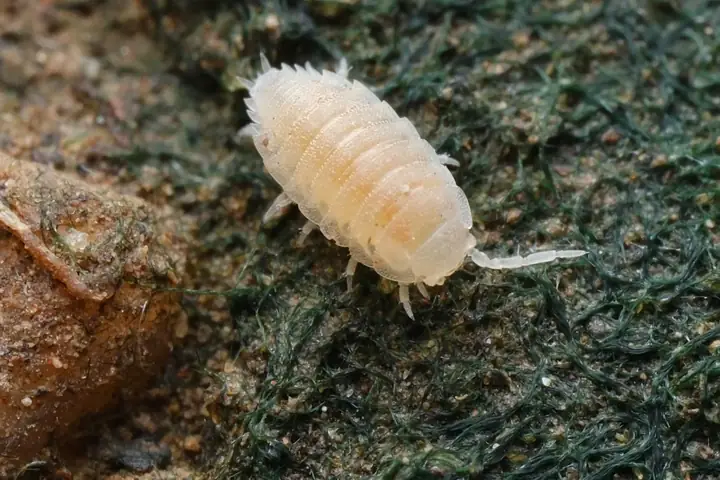
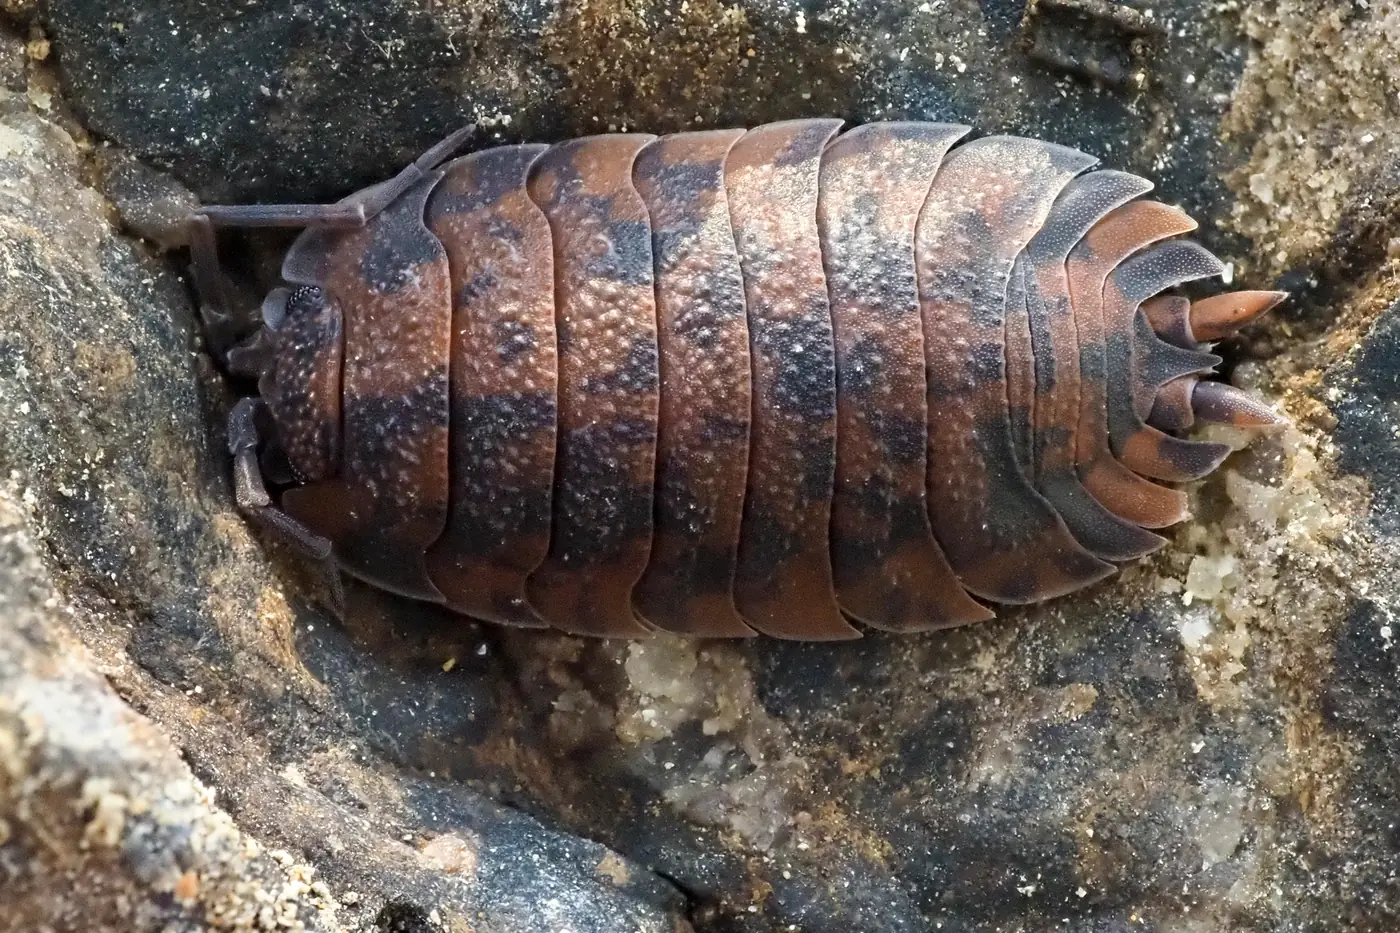
Isopods are among the easiest invertebrates to keep. They need no heat lamp or special lighting, and a healthy tub only takes a few minutes of care each week. Give them damp substrate, rotting leaves and wood to eat, and bark to hide under, and a colony will usually breed on its own for years.
What are isopods?
Isopods are land crustaceans, closer relatives of crabs and shrimp than of insects. The common ones go by woodlice, pill bugs, roly polies or sowbugs. A 2015 world checklist of the land-living group, the Oniscidea, counted more than 3,700 described species, and a few dozen of them are now popular as pets.
That crustacean ancestry explains most of the care rules. Woodlice breathe through gill-like structures under the tail that only work while they stay moist, so an animal that dries out suffocates. Managing moisture is the main job of keeping them.
People keep them as pets, for the colours and patterns that range from bright orange to black-and-white "dairy cow" morphs, and as cleanup crews in a bioactive enclosure, where they eat waste, shed skin and dead plant matter.
Choosing your first species
Start with a species that breeds quickly and tolerates mistakes. Expensive rarities such as rubber ducky isopods breed slowly and are far less forgiving.
| Species | Common name | Why it suits beginners |
|---|---|---|
| Porcellio scaber | Common rough woodlouse | Very hardy, breeds fast, many colour morphs |
| Porcellio laevis | Dairy cow (morph) | Large, fast-growing and tolerant of drier conditions |
| Porcellionides pruinosus | Powder orange / powder blue | Prolific breeder that handles warmth well |
| Armadillidium vulgare | Common pill bug | Rolls into a ball, easy and long-lived |
| Trichorhina tomentosa | Dwarf white | Tiny and all-female, ideal for tropical cleanup crews |
Buy 10 to 20 animals so you get both sexes. Dwarf whites are the exception: they reproduce without males, so even a small starter culture grows.
Setting up the enclosure
The container
A plastic storage tub is all you need. For a starter colony of 10 to 30, a container of about 6 to 15 quarts (6 to 15 litres) is plenty, and you can move them to something bigger as numbers grow.
Woodlice climb smooth plastic poorly, but babies can squeeze through gaps, so use a lid that closes properly.
Ventilation
Drill or melt a few small holes, about 1/8 inch (3 mm) across, in the lid or upper sides. Too many dry the tub out within days; too few leave it stuffy and moldy.
Start with a handful of holes. If condensation runs down the walls all the time or mold spreads across the substrate, add a few more.
The moisture gradient
Keep one end of the tub moist and the other drier, and the animals will move between the two to manage their own water balance. Beginners often skip this, and it prevents more deaths than anything else on this page.
Pour water into one corner every few days so the substrate there feels like a wrung-out sponge, and let the far end dry to barely damp. A clump of wet sphagnum moss on the moist side gives them an easy humid retreat.
Substrate
Use 2 to 4 inches (5 to 10 cm) of loose, organic substrate. They burrow into it to molt and to escape dry air, and they slowly eat it as well.
A simple mix that suits most species is about half organic topsoil or coco fiber (free of fertiliser and pesticides), a quarter crumbled dead hardwood leaves such as oak, maple or beech, and a quarter rotting hardwood broken into pieces. Add a handful of sphagnum moss on the wet side.
Cover the surface with whole dead leaves and lay cork bark or flat pieces of wood on top. The animals spend almost all their time under that cover, so the more of it you provide, the more settled the colony will be.
Avoid wood from pine, cedar and other conifers, whose resins can harm them. If you collect leaves and wood outside, take them from areas that haven't been sprayed; many keepers bake or freeze collected material first to kill hitchhiking pests.
Temperature
Most popular species do well between 65 and 80°F (18 to 27°C), which is room temperature in most homes. Tropical species such as dwarf whites prefer the warmer end.
Heat is a bigger risk than cold. Many species struggle above about 85°F (29°C), and a closed tub on a sunny windowsill can pass that within an hour. Keep the colony away from windows and radiators.
Food and calcium
The base diet
Dead hardwood leaves and rotting wood are the staple food, and they should be in the tub at all times. When the leaf layer thins, add more.
Extras
Once or twice a week, add a small piece of vegetable (carrot, squash, zucchini or cucumber) and a pinch of protein such as fish flakes, dried shrimp or insect-based food.
Without regular protein, isopods are more likely to eat each other, starting with babies and freshly molted adults.
Put fresh food on a small dish or a flat piece of bark so it's easy to check, and remove anything left after a day or two before it rots.
Calcium
They need calcium to harden the new shell after each molt, so keep a source in the tub permanently. Cuttlebone, crushed eggshell (rinsed and baked) or a small piece of limestone all work.
How isopods molt
Isopods molt in two halves, back half first and front half a day or so later, so an animal that is half white and half coloured is in the middle of a molt rather than sick.
A freshly molted animal is soft for a while, which is another reason to give plenty of hides and enough protein. One that stays stuck half-molted usually points to an enclosure that is too dry or short of calcium.
Breeding
A well-set-up tub breeds without any help from you.
Females carry their eggs in a fluid-filled brood pouch on the underside called the marsupium, and a female carrying eggs is called gravid. You can often see the pale bulge between her legs. In Porcellio scaber, development inside the pouch takes about 35 days under laboratory conditions, and the same study found it ran almost three times slower at low temperature.
The babies, called mancae, emerge as tiny white copies of the adults. They start with six pairs of legs and gain the seventh after an early molt. They are fragile, so a stable, damp substrate full of leaf litter gives them the best chance.
New colonies often go quiet for the first month or two while the animals settle. Once the first babies appear, numbers usually climb steadily.
Care routine
| How often | Job |
|---|---|
| Every few days | Check the moist side and add water if it has started to dry |
| Once or twice a week | Add a little vegetable or protein; remove old food |
| Every few weeks | Top up leaf litter and rotting wood |
| Every few months | Add fresh substrate on top, or rehouse the colony if the old substrate has turned to fine dust (frass) |
Common problems and quick fixes
| What you see | Likely cause | What to do |
|---|---|---|
| Dead isopods on the surface | Substrate too dry | Water the moist side deeply and add sphagnum |
| Animals stuck half-molted | Low humidity or low calcium | Increase moisture and add cuttlebone |
| White fuzzy mold on food | Normal decomposition | Remove leftovers sooner and feed less |
| Mold spreading over the substrate | Too wet with too little airflow | Add a few vent holes and let the surface dry slightly |
| Tiny white mites everywhere | Too much food and moisture | Feed smaller amounts and remove leftovers quickly |
| No babies after several months | Too few adults, too dry, or low protein | Add protein, keep a moist side, and wait |
Next steps
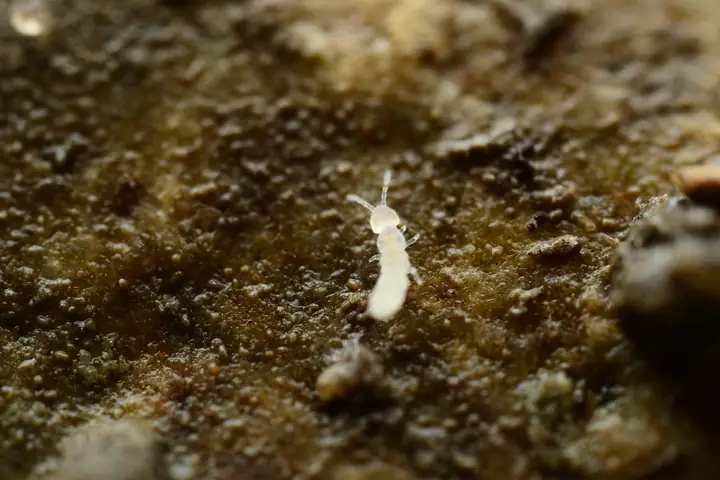
Once your first colony is breeding, you can add more species, move some animals into a reptile or frog enclosure as a cleanup crew, or start a springtail culture. Springtails eat the mold that isopods leave behind, so the two are usually kept together.
Sources
- Sfenthourakis, S. and Taiti, S. (2015). Patterns of taxonomic diversity among terrestrial isopods. ZooKeys 515.
- Horváthová, T. et al. (2015). ZooKeys study of marsupial development and growth in Porcellio scaber at different temperatures and oxygen levels.