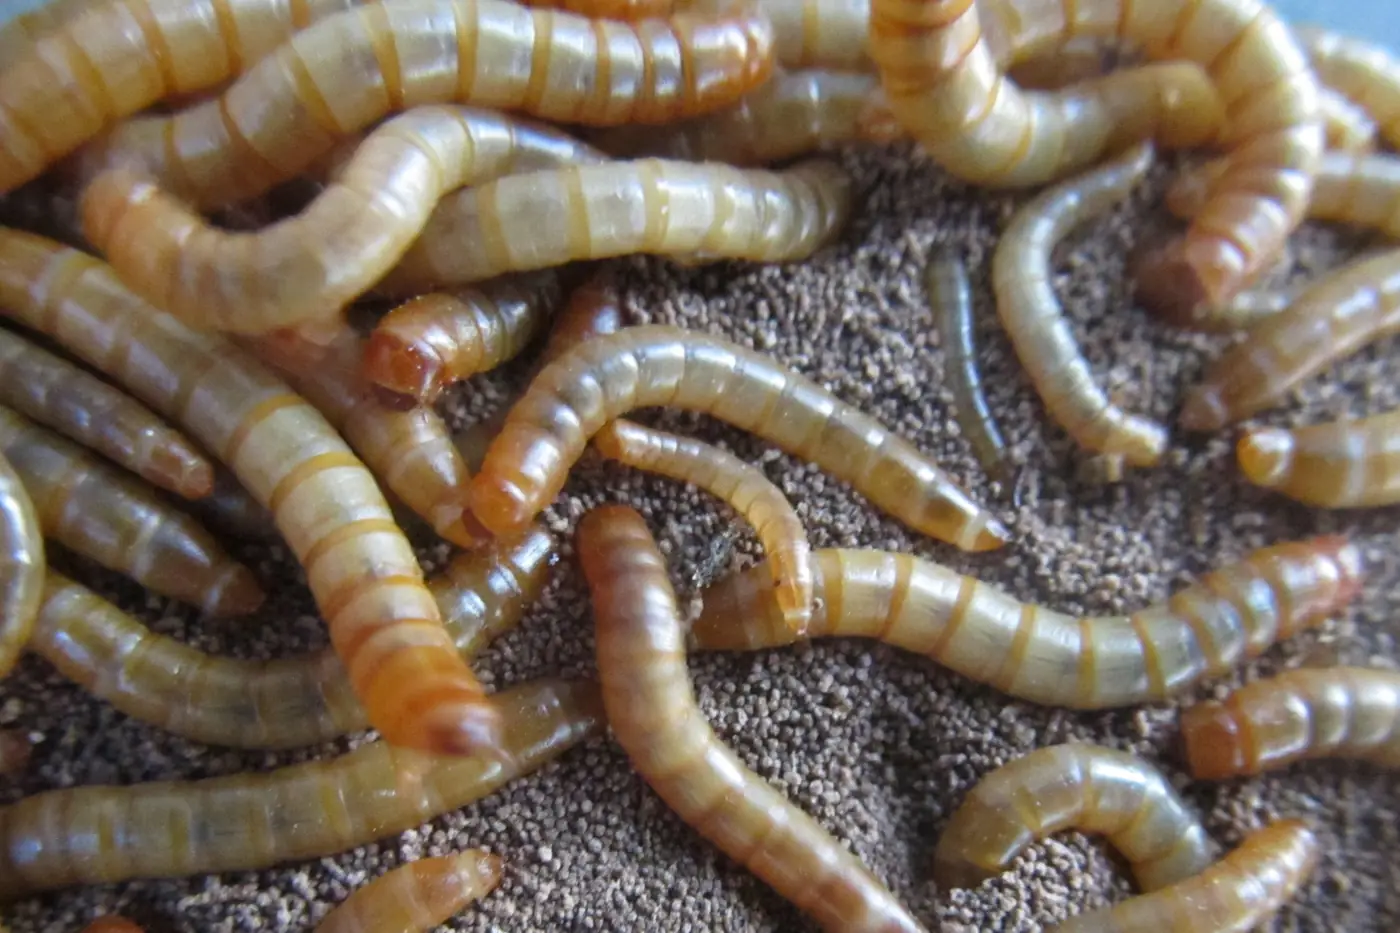
Mealworms are the larvae of the darkling beetle, Tenebrio molitor. They are cheap to buy, but breeding your own gives you a steady supply in every size, and you control what they eat before they go to your reptiles, birds or chickens.
There is almost no daily work involved. Most of the job is moving each life stage into the right tray at the right time.
The mealworm life cycle
Mealworms go through four stages: egg, larva, pupa and adult beetle. Temperature drives how fast this happens.
| Stage | What it looks like | Typical length of stage |
|---|---|---|
| Egg | Tiny, white, sticky, hidden in the bedding | About 1 to 3 weeks |
| Larva (mealworm) | The familiar golden worm; molts many times | Several months |
| Pupa | Pale, curled, does not eat or walk | About 1 to 3 weeks |
| Beetle | Starts pale brown, darkens to black | Weeks to a few months; lays eggs |
In a 2023 laboratory study, development from egg to adult took about 111 days at 81°F (27°C) and about 204 days at 68°F (20°C), so a warm setup almost halves the wait.
What you need
- Three shallow plastic trays or drawers, labelled larvae, pupae and beetles. A stackable drawer unit keeps everything tidy, and shallow bedding stays drier than deep bedding.
- Wheat bran, oat bran or rolled oats for bedding, about 1 to 2 inches (2.5 to 5 cm) deep.
- Carrot, potato, squash or apple slices for moisture.
- Fine mesh panels or small holes in the lids for airflow.
Step 1: Set up the larvae tray
Pour in the bran and add your mealworms. Start with a few hundred if you can: more starting worms means more beetles and a sooner first harvest.
Lay a few slices of carrot or potato on top of the bran. Replace them when they dry out or before they start to rot or mold, usually every two or three days.
Step 2: Temperature
Mealworms grow fastest at roughly 77 to 82°F (25 to 28°C). A 2022 study in Insects found the shortest development times and best survival at 77 and 86°F (25 and 30°C).
Normal room temperature works, just more slowly. If your room is cool, a heat mat on a thermostat under part of the drawer unit speeds things up, but don't let the bedding get hot or dry.
Step 3: Separate the pupae
When a mealworm is ready to change, it stops eating, curls up and turns into a pale, motionless pupa.
Check the larvae tray every few days and move any pupae to the pupae tray. Larvae and beetles will chew on pupae, because pupae can't move away. Pupae need no food. A thin layer of bran is enough to keep them comfortable.
Step 4: Beetles and egg laying
Pupae hatch into beetles that are pale cream at first and darken to brown and then black over a few days.
Move the beetles to their own tray with about 1 inch (2.5 cm) of fresh bran, vegetable slices for moisture, and a pinch of protein such as fish flakes to keep them laying.
Females lay their eggs straight into the bran. Penn State Extension puts the average at 276 eggs per female over 22 to 137 days, but the eggs are almost impossible to see, so the bran will look empty for a while.
Step 5: Rotate the beetles
Rotating the beetles is what gives you worms of predictable sizes.
Every two weeks or so, sift the beetles out of their bran and move them into a fresh tray of bran. Leave the old bran in place, label it with the date, and keep giving it vegetable slices.
A few weeks later, tiny mealworms appear in the old tray. Because every egg in that tray was laid in the same two-week window, the worms grow at roughly the same speed. You end up with trays of small, medium and large worms ready at different times.
A sieve with holes that let bran through but not beetles makes this job quick.
How long until your first harvest
From a starting batch of larvae, expect your first home-bred worms to reach a useful size in roughly two to four months, depending on temperature. After that, regular beetle rotation gives a steady supply.
Hold back a good share of large worms to pupate, so the colony keeps producing.
Keeping the colony clean
Remove dead worms and beetles as soon as you see them, and replace the bedding when it has turned to fine powder (frass) with little bran left, usually every one to two months.
Freeze new bran for 48 hours before you use it, which kills any mites or moth eggs that came with it. Above all, keep everything dry: damp bedding is behind most of the problems in the table below. If worms are already dying, see why mealworms turn black.
Common problems
| Problem | Likely cause | Fix |
|---|---|---|
| Mealworms turning black and dying | Too much moisture, heat or disease | Remove dead worms quickly, dry the bedding, cool the room |
| Pupae turning black | Failed pupae, often from damage or moisture | Separate pupae promptly and keep bedding dry |
| Tiny white dust that moves | Grain mites | Dry the bedding out, replace with frozen bran |
| Mold on bedding | Rotting vegetables or added water | Remove old vegetable slices sooner |
| Beetles but no babies | Not enough time, or cold | Wait at least 3 to 4 weeks; raise the temperature |
Storing mealworms
If the colony produces more than you need, move larvae to a container in the fridge at about 45 to 50°F (7 to 10°C), where the cold stops them pupating. Take them out every couple of weeks, let them warm up, and give them a vegetable slice to keep them in good condition.
Sources
- Heidari Parsa, S. et al. (2023). Development of Tenebrio molitor at five constant temperatures. Arthropods.
- Effect of temperature and photoperiod on development, survival, and growth rate of mealworms, Tenebrio molitor (2022). Insects.
- Penn State Extension. Dark and yellow mealworms.